I recently purchased a navy surcingle belt that is 6 sizes too big for me at thrift store for $5 with the intention of shortening it. The leather was really nice, I don’t have a navy surcingle, and I had previously read that this is a very easy modification to make. Fast forward two months and I am about to find out just how easy it is.
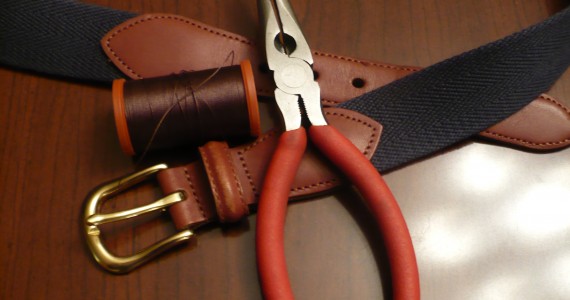
This project requires only requires a few tools. The best part is that you probably already have them. You will need a needle, heavyweight thread, pliers, a seam ripper, scissors, chalk, a small clamp (I used a binder clip) and a belt that fits.
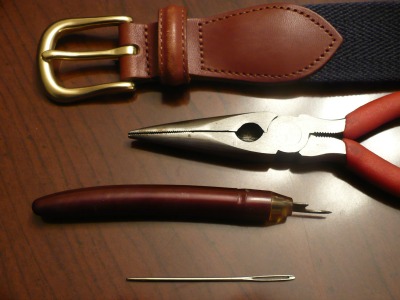 A few of the required tools (missing from the pic are scissors, thread, chalk, a small clamp and a belt that fits).
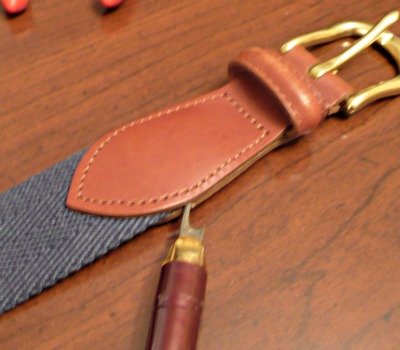
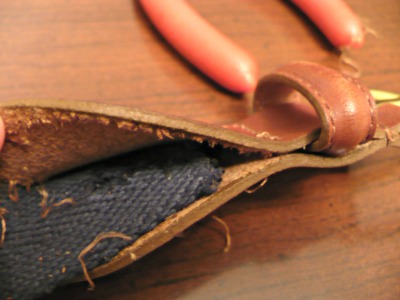
My first step was to remove the seams. I chose the tab with the buckle, because it had a much smaller area to stitch. On many surcingle belts either end may be a possibility. This was the easiest part.
Step two, measure the belt. This is why you need a belt that fits. First, I aligned the hole that I use on the belt that fits with hole that I want to use on the new belt. Next, I lined the buckle that I had just detached up with the old buckle. I marked this spot with chalk, but you could use whatever you have. Chalk just happened to be handy.
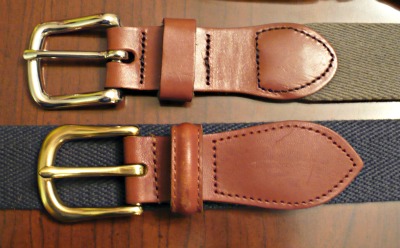 Line up the buckles and mark with chalk.
Now it’s time to cut your new belt. I cut the belt about an inch above my chalk line leaving myself enough fabric to be sewn into the tab. You may want to trim down the edges of the belt so that it does not stick out the sides of the tab. I didn’t make the end pointed as the fabric was not sticking out beyond the edges in this instance.
If you do want to make the end slimmer, the trick to this is to cut from the middle and pull in the sides to create the point. If you cut the down the outside edges it will lead to fraying. You will want to staple or sew the two sides together to make sure the point is stable. I learned this trick when I saw how it was originally attached.
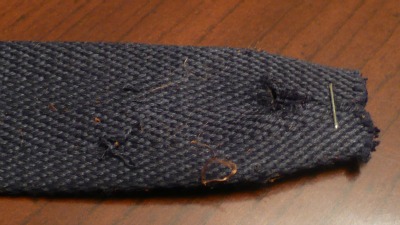 Here you can see how they removed some of the middle and stapled it together.
Now it’s time to sew the belt back together. Before your starting sewing you want to make sure that the needle you are going to use fits through the pre-existing holes in the leather. The first needle I tried was too large. Now that I think about it a much smaller needle would probably work. In fact, this could be a lot easier and is something that I will experiment with in the future.
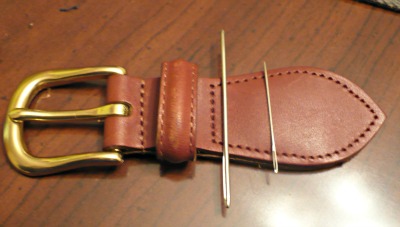 I used the needle on the right.
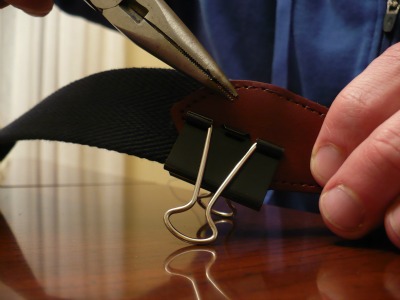
Okay, now it is time to actually sew the belt back together. Thread your needle, pick a place to start, and have at it. You will want to get something to clamp the buckle in place while you are sewing. I used a binder clip as an afterthought and it worked just fine. Try not to skip any holes like I did (3 in fact).
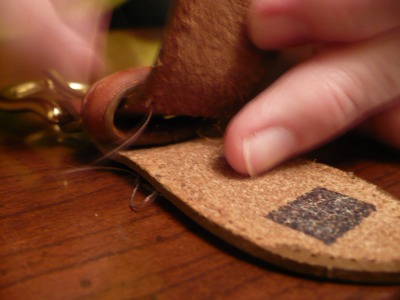
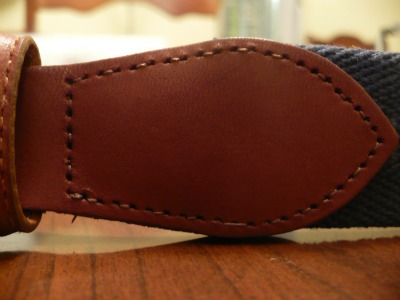
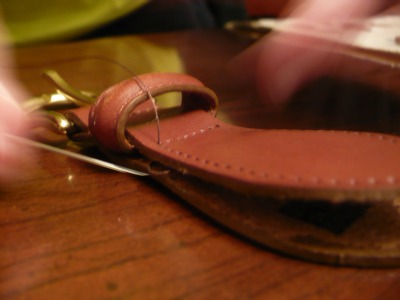 Getting the needle through both holes was fairly easy (some went smoother than others) and I am not familiar with sewing at all. After you get the needle through both holes you will want to use your pliers to pull the needle all the way through. Now just keep repeating this process until you have made it back to your starting point and knot off the thread. Your belt is now complete!
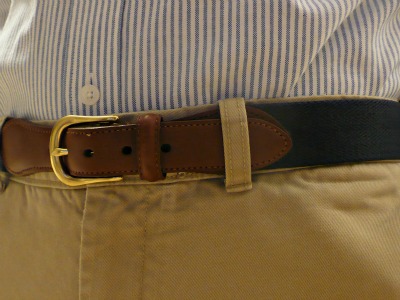
This was an easy project has opened up a lot of belt possibilities for me. All in all, I spent about an hour and fifteen minutes from start to finish. If I was to do this again (which is only a matter of time) I think I could do it in 30 minutes. I predict that my collection of surcingle belts is about to experience a serious influx.

Nice job.
And thank you. I’ve often shied away from buying surcingle belts ‘cos they are too large for me. I do have a leather punch (bought for $6 at amazon) that lets me wear an assortment of leather belts by punching additional holes to tighten them up.
Thank you for the great tutorial. Gives me courage to tackle a few of my own.
That is a great idea! There are usually tons of belts at thrift store but there are rarely any that fit me. I’ll keep this fix in mind next time I’m shopping.